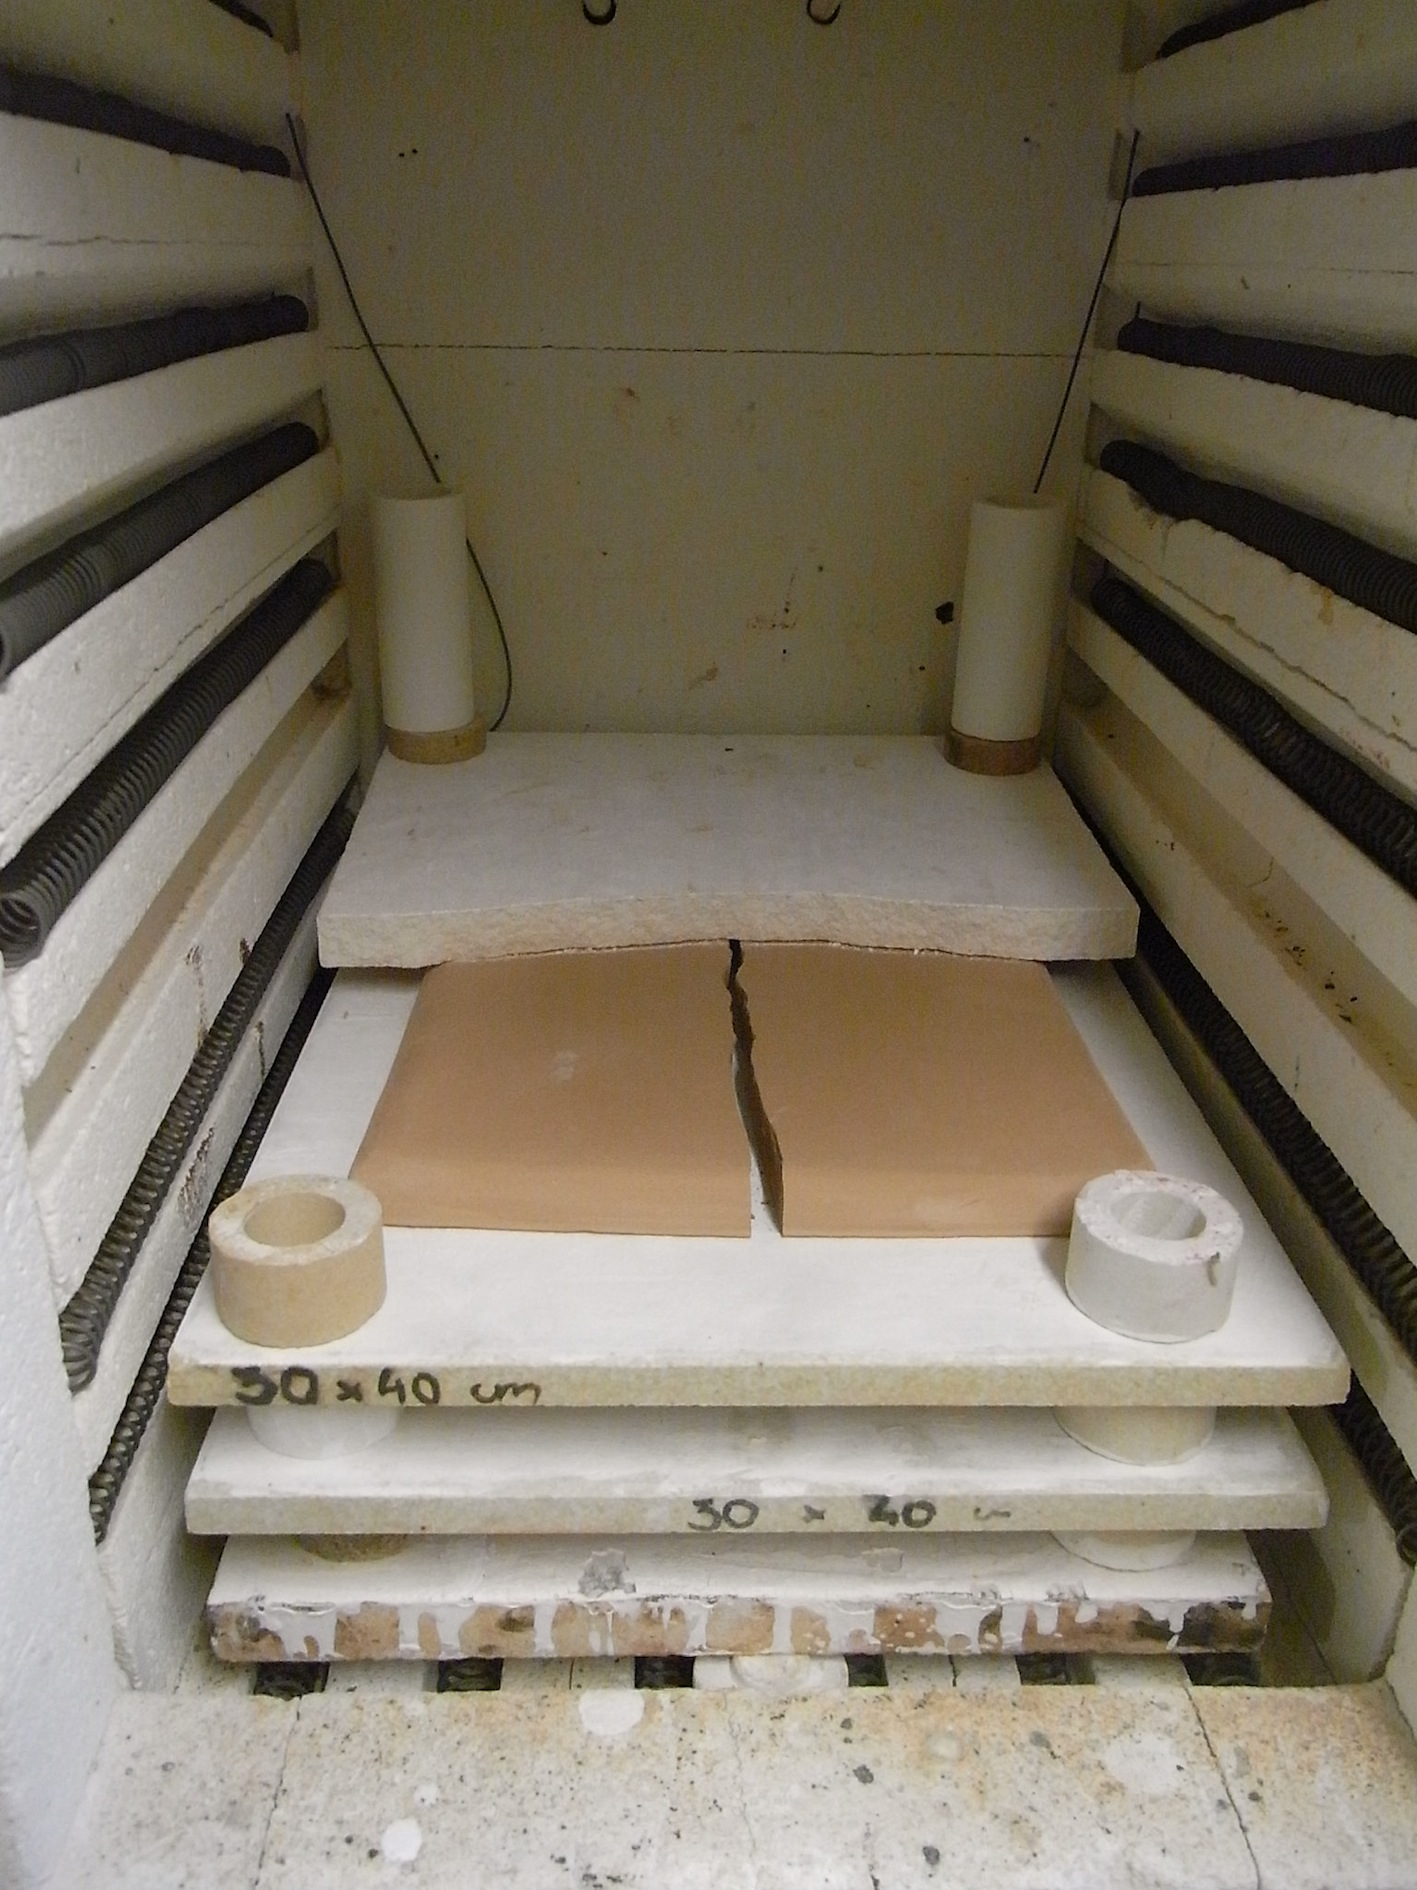
Well, reality has certainly bitten this little petal. After an agonizing time carefully loading my eight tiles into the bisque kiln on Saturday I finally opened the door on Monday morning to uncover a firing disaster. I knew one of the tiles had broken, as Christina checked late Sunday night, so I braced myself as to which one I had lost. It wasn’t until when removing the tiles one by one I realized something had gone terribly wrong. Tile after tile – major cracks – and when I got to the shelf that’s when I didn’t know whether to laugh or cry. The kiln shelf had split fair into two pieces. Out of the eight tiles I made, only two survived and one partially – as Adam kindly pointed out “it was only a 75% failure rate”. I laid them all out on the bench, photographed them and headed straight back to my room. I felt so deflated and could have kicked myself – where did I do wrong?
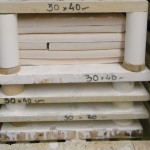
I had read up on the Internet – reliable ceramic sites to work out how to bisque large tiles. I found some great sites/detailed information but they all related to small bathroom tiles and nothing my size or depth. I chatted to another artist in residence who was confident I could lay the tiles on top of each other. I had plans to lay one on each shelf – but we didn’t have enough shelves for that option. So, I had the yellow clay tiles on 2 separate shelves and the white clay tiles stacked carefully on each other.
I didn’t know one kiln shelf had a hairline fracture and the weight of the tiles combined with the fracture may have been the cause for the break. Our Technician Rachel hadn’t seen anything like it before and was surprised at the outcome. We talked about what the cause was but couldn’t give a definitive answer. She suggested next time I stack them side by side with bricks – like toast in one of those old-fashioned toast stands.

Someone else suggested clay coils around each of the tiles to slow down the heat so it’s not fast on the outside and a shock to the center. So lots of ideas and if any ceramicist out there can give me tips I’d so much welcome them as I’m keen to continue making these tiles when I come home.
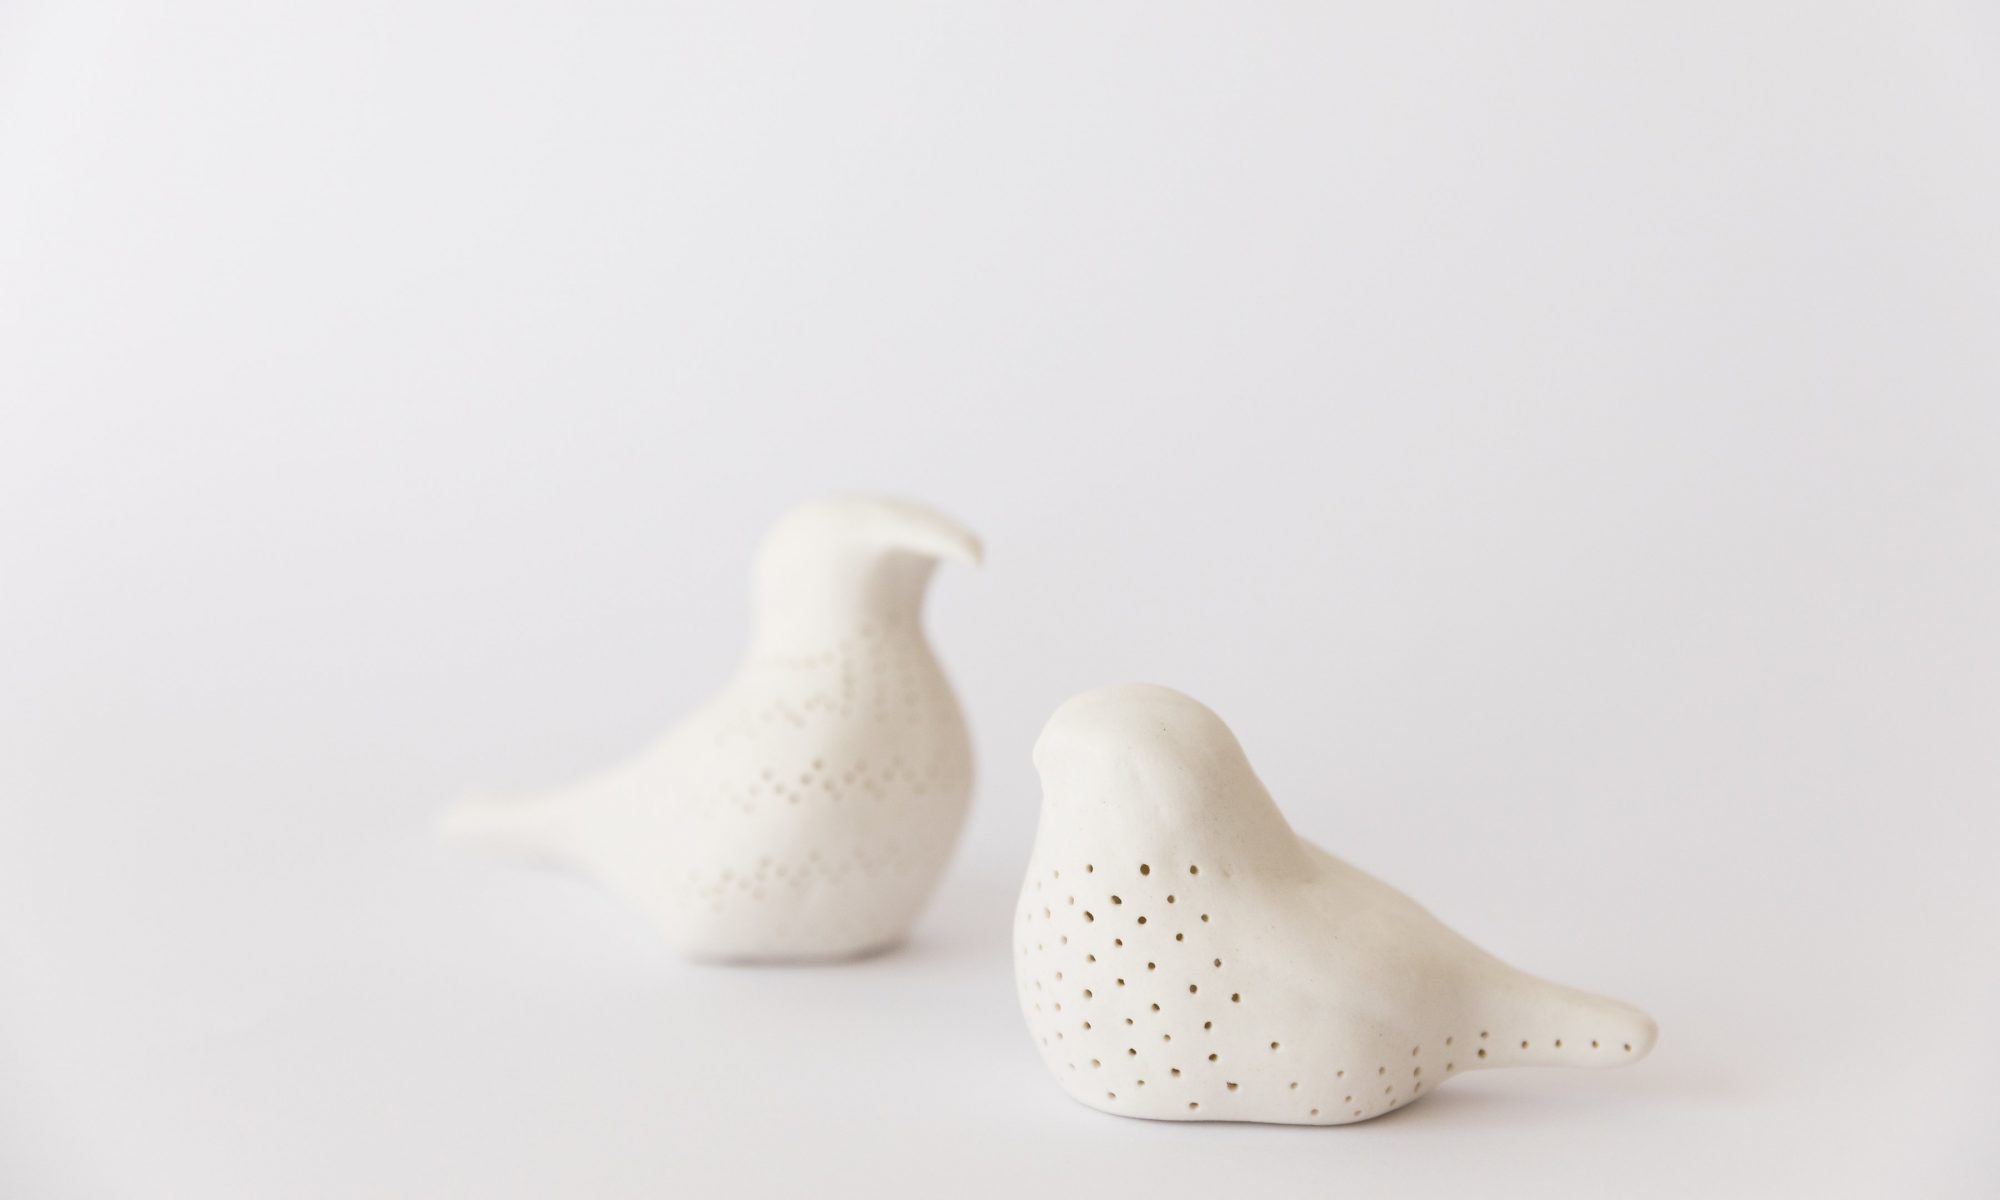
The good news is someone upstairs must have been looking after me as the two tiles, which survived, were in fact the most important – the main feature tiles for the old/serene body of work. At least I can work with something and the other good news, which Adam also pointed out “you’ll save on shipping costs now!” He of course totally understood, felt bad about my firing and let me have a good sob over Skype.
So, today I woke up with a massive hangover after drinking a tad too much – probably because I knew I needed to commiserate, held my last dinner duty with the gorgeous Evelyn from Estonia, given a presentation to Project Network 2013 members on tips to improve grant applications and only had one more kiln firing to go. Anyway, onwards and upwards and I have to say one of the girls here made me realize you have to embrace ceramics with all its uncontrollable elements and be prepared for breakages, kiln and/or glaze disasters. Only the day before, another artist accidentally knocked over one of Claire’s exhibition pieces. He was mortified and she was calm as she quickly threw the piece in the bin. She made the whole incident painless and is truly a model of graciousness and practicality.
Anyway, I spent today glazing my two tiles and I’m happy with the results. The work, along with the pendants will be ready to put in the kiln on Wednesday and should be out some time Friday.


Post note: the works came out today….and sadly, another firing disaster. It just seems I been given the ultimate test ‘to harden up princess’ as Adam says. Well, I opened the door to see one big gooey hard mess in front of me.

We had to wait till the kiln cooled down and Rachel helped me pull the shelves out. Two were joined together and when we pulled them all out we assessed the damage – to the shelves and the element. Whatever work came out went straight to my desk with no interest. I was worried about the damage. We got a hammer and chisel and she showed me what I’d have to do to get rid of the glaze. The glaze is hard as rock and when you break it, its like glass. So, we worked carefully but struggled to avoid the actual shelf from being ruined. So, she left me and 2hrs later I tried my best to rescue the shelves. Two of the shelves are not savable and with a damaged wire I’m going to be up for some big $$’s. My budget for the firings has been totally blown out. I also lost 1/2 my pendants which had been made as gifts for people here. So, unfortunately that special project is out the window. As for my 2 tiles, they somehow managed to be okay. I did take a photo to put in this posting but it could have helped if I put the memory card in! Its now too late as I’ve bubble wrapped my works in preparation for leaving. So lesson learned…don’t put a low fire clay in a high fire clay firing. I didn’t realise I had made this mistake and now I know what happens and trust me I won’t be making this expensive mistake again…
So, this is probably my last posting related to my time here as an artist-in-residence. I’m pleased I took myself out of my comfort zone and explore new clays, glazes and forms. This is the complete opposite to what I did at University and I’m so glad I didn’t create the same work and play it safe. I’m looking forward to coming home as I miss Adam, Miami and of course family, friends and work colleagues. I will also miss my new friends made here at Guldagergaard. Its been an amazing experience and one I highly recommend any ceramic artist to consider as part of their career…just start saving now and be open to all that ceramics throws at you!
